Recording and Mixing Production Diary – CW1
I began my Recording and Mixing assessment by composing a simple song in a popular style using MIDI sounds in the DAW Logic. This consisted of acoustic guitar, bass guitar, vocals, trumpet and strings (cello) in a standard song-form structure (verse/pre-chorus/chorus). Although the quality of the MIDI plug-in sounds in this DAW was very good, I found the acoustic guitar didn’t sound authentic or real enough and had some limitations to what I could do with it. Therefore, in order to achieve the sound that I wanted for this song, I decided to record the acoustic guitar in the studio, along with the vocals. The first of the two instruments that I recorded in the studio was the acoustic guitar as it played a rhythmic role, whereas the vocals were melodic. Prior to going into the studio, I bounced these MIDI tracks as audio files, for easy transfer from the Logic DAW to the ProTools Daw used in the studio.
There are 3 main types of microphone: Dynamic, Condenser and Ribbon, the latter 2 of which I used during my recording process. Dynamic microphones are robust, and do not require phantom power, with a low which makes them ideal for use in live situations or for louder instruments such as drums. Dynamic microphones have a magnet that moves next to a coil to create a voltage. They work by sound waves moving a diaphragm that’s attached to the coil, which makes the coil move and therefore creates a voltage, because of the magnetic field, which is then increased by a transformer. Next is the condenser microphone. These do require phantom power and are ideal for recording acoustic instruments with clarity. They are often used in a studio situation over a live situation (however can still be used for both) as they are less durable and more sensitive than dynamic microphones. They have 2 plates, one of which is move-able and is the diaphragm, while the second remains static. When sound waves enter the microphone, the diaphragm vibrates which changes the distance between the plates. Finally, ribbon microphones are the most sensitive of the three microphones. For these microphones to work, metal ribbon is suspended between two poles of a magnet, and when the ribbon vibrates due to the sound waves, a voltage is created. They are the most natural sounding microphones and are therefore often used for recording room ambience or vocals.
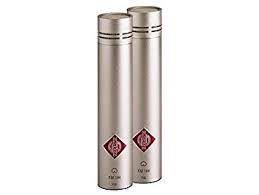
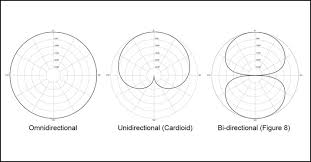
For the acoustic guitar, I chose to use 5 microphones in total. Not only would this allow me to have more creative control over positioning, I could also utilise the different qualities of the microphones in mixing. I used 2 Neumann KM184’s, 2 AKG C414’s, and the Rode NTR. The Neumann KM184’s are condenser microphones with a cardioid polar pick up pattern, meaning they pick up sound from the front and omit sound from the back, which is useful for ensuring the sound of the instrument only is picked up, and not the sound of the room. AKG C414’s are also condenser microphones. They offer the option to change the polar pattern, however I opted to use the cardioid pattern once again. Finally, the Rode NTR is a ribbon microphone with a bi-directional polar pattern. Additionally, I considered using a talkback microphone to allow the performer to communicate with me in the studio with more ease, for which I would have used the Shure SM57. This would have had to be plugged into insert 9, so that no phantom power was supplied to it, as it’s a dynamic microphone in contrast to the Neumann and AKG condensers. However, after I had set up the microphones, it turned out that I did not require a talkback mic to hear the performer clearly. The final piece of studio equipment that I set up was a pair of headphones to allow the performer to hear me when I was trying to communicate with them.


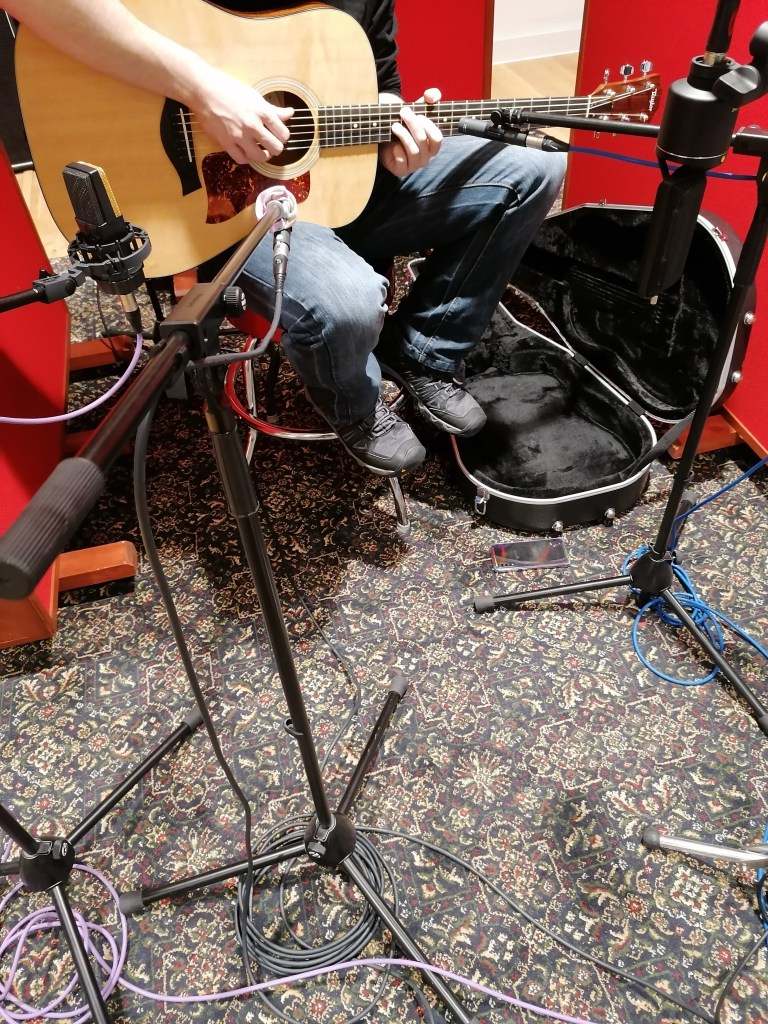
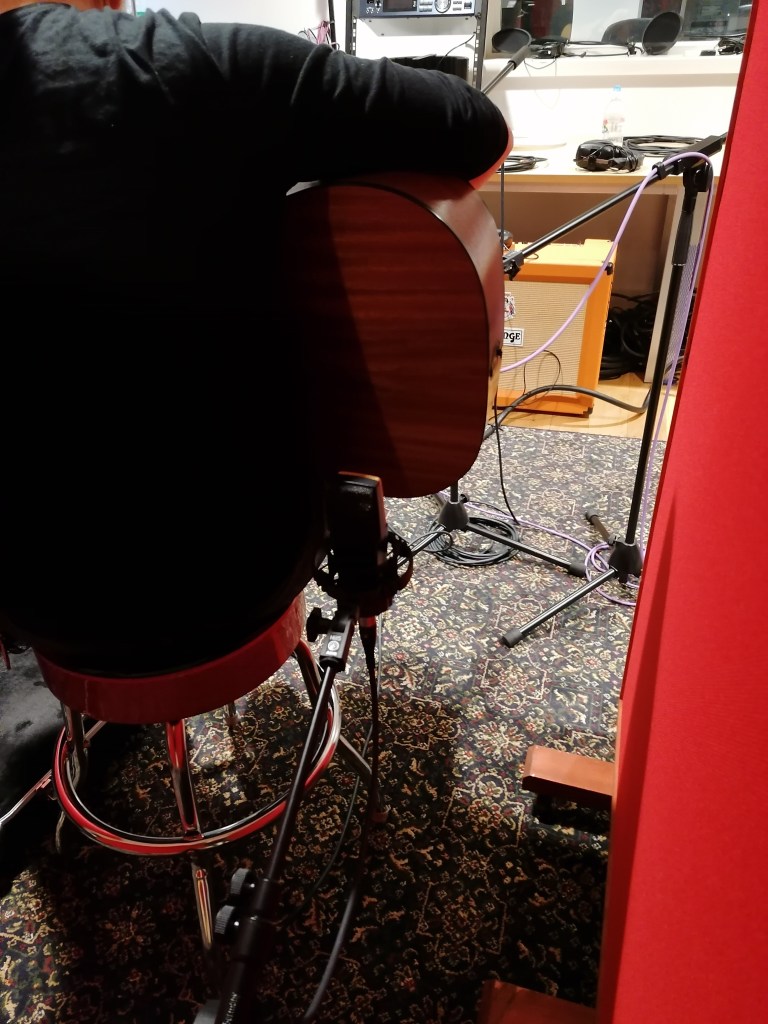
In the setting up of the microphones for the guitar, I placed one Neumann KM184 near the hole of the guitar, while the second one was pointed at the 12th fret. This is a standard stereo positioning for recording acoustic guitar. The AKG C414s were placed in slightly different positions: one was behind the guitarist, facing the back of the guitar, as I wanted to experiment with seeing what kind of sound I would get from this positioning. The second was placed next to the Neumann near the hole of the guitar. Finally, I positioned the Rode NTR about 2 feet away from the hole of the guitar, so that it could pick up a little bit more of the room tone along with the guitar. I used gobos to absorb the natural reverb in the studio and to obtain a more natural, drier recording. These were placed at the sides and behind the performer. For health and safety measures, I used a stage box, so that the cables were not stretching all the way across the studio or hovering in the air – I made sure there was enough slack. The cables were also organised in an orderly fashion for me to understand when I set them up in the studio, and neatly coiled and tucked under the microphone stands to minimise trip hazards.
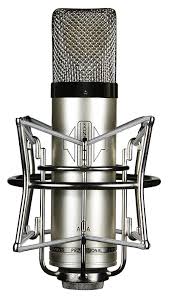
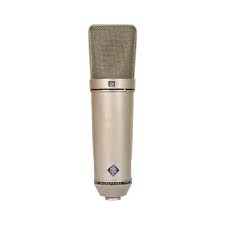
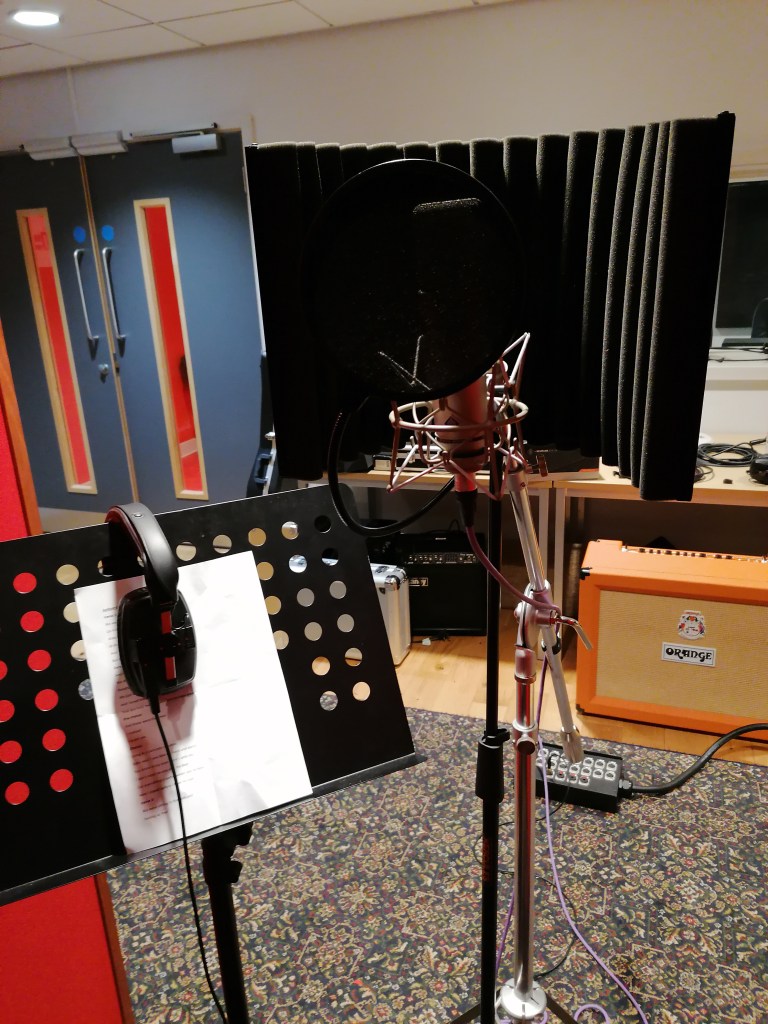
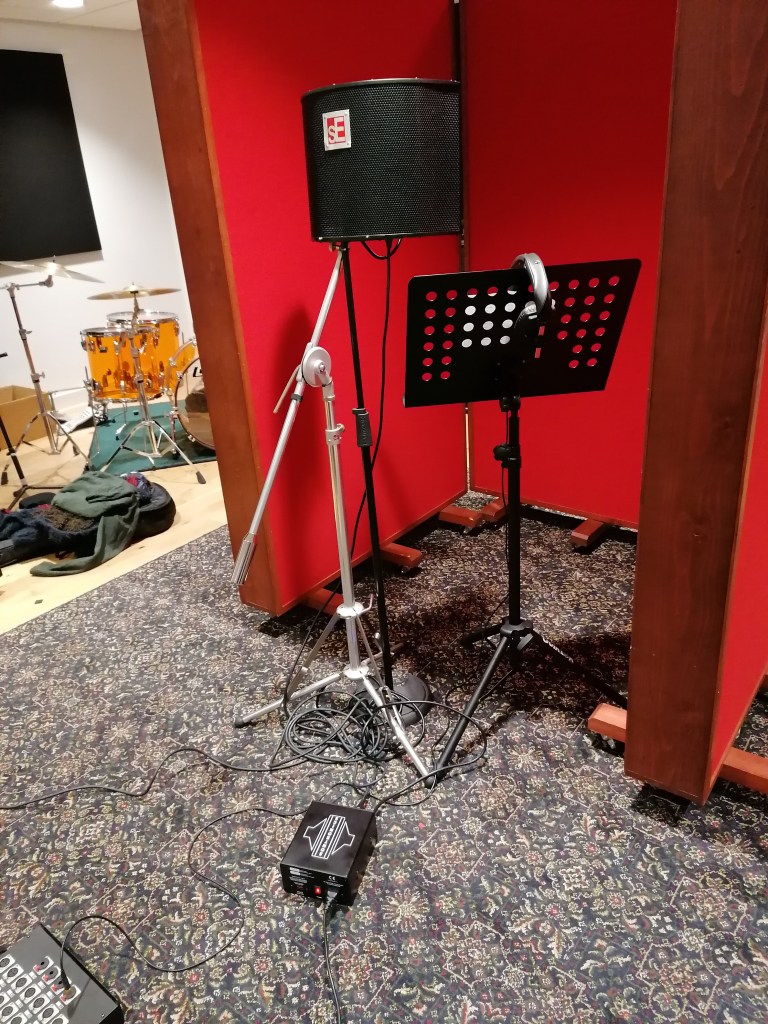
The microphones that I chose to use for the recording of the vocals were the Neumann U87 and the Sontronics Aria. The Neumann is a condenser microphone with an interchangeable polar pattern – which again, I set to cardioid. The Aria is also a condenser microphone, however rather than using phantom power, it has its own power supply box which is then connected to the mixing desk. It does not have a changeable polar pattern, however has a cardioid polar pattern, which is the one I would be using. For the vocals, no talkback microphone will be needed, as the studio will be able to hear the vocalist communicating with them through the vocal mics.
There were a couple of issues that I faced when in the studio, the first of which was the positioning of the AKG C414 microphone behind the acoustic guitar. The performer found that he nudged the microphone with his arm whenever he moved it slightly, so to solve this problem, I moved the position of the microphone slightly backwards and to the side. The second issue I faced was that the click track was out of time with the existing audio files on my project, which were written at 125bpm, which could have been very confusing and unhelpful for the performer. To combat this, I simply changed the bpm of the project in ProTools from 120bpm to 125bpm, which in turn corrected the click track.
For my first mix, I simply set the volume on the microphones and pre-existing audio files (the bounces of the MIDI) to levels in which each instrument was brought out clearly in the mix. Each microphone that I used was set to a similar volume level, to create a full, and slightly more raw and natural sounding mix. I also did some minor panning for clarity.
For my second mix, I took a slightly different approach and focused more on trying to obtain a warmer, darker sound. For this, I set the level of the Rode NTR, and the AKG C414 that was positioned behind the guitar to be higher than the other microphones, as I found that the Rode picked up a dark tone, while the AKG C414 was clear, yet warm. I also prioritised the used of the Aria over the Neumann U87, as I found that the Neumann had a rather synthetic tone in comparison to the crisp, clearness of the Aria.
Emily Wiggins (1294 words)
